
 Hyundai Equus: Smart Key Repair procedures
Second generation VI (2009–2026) / Hyundai Equus VI 2009-2026 Service Manual / Body Electrical System / Smart Key System / Smart Key Repair procedures
Hyundai Equus: Smart Key Repair procedures
Second generation VI (2009–2026) / Hyundai Equus VI 2009-2026 Service Manual / Body Electrical System / Smart Key System / Smart Key Repair procedures
Second generation VI (2009–2026) / Hyundai Equus VI 2009-2026 Service Manual / Body Electrical System / Smart Key System / Smart Key Repair procedures
| Smart Key |
Battery Inspection
| 1. |
Check that the red light flickers when the door lock or unlock button is pressed on the transmitter. |
| 2. |
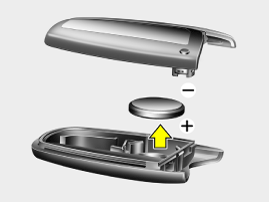
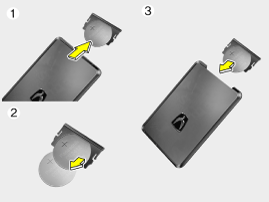
Remove the battery (A) and check voltage if the red light doesn't flicker.
(Refer to Owner's manual - "Battery Replacement")
[Standard]
[Card]
|
| 3. |
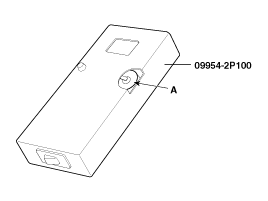
Insert the battery (A) into the tester (09954-2P100).
|
| 4. |
Push the test button and If "0.00" is displayed on screen, it means that the battery voltage is 2V or less. |
| 5. |
If "L" is displayed on screen, it means that the battery is low power and it needs to replace. |
| 6. |
To prevent the discharge of electricity, turn the tester power off. |
| 7. |
Replace the transmitter battery with a new one, if voltage is
low power then try to lock and unlock the doors with the transmitter by
pressing the lock or unlock button five or six times. |
| 8. |
If the doors lock and unlock, the transmitter is O.K, but if
the doors don't lock and unlock, register the transmitter code, then try
to lock and unlock the doors. |
| 9. |
If the doors lock and unlock, the transmitter is O.K, but if the doors don't lock and unlock, replace the transmitter.
|

Smart Key Code Saving
| 1. |
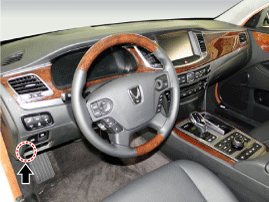
Connect the DLC cable of GDS to the data link connector (16 pins) in driver side crash pad lower panel, turn the power on GDS.
|
| 2. |
Select the vehicle model and then do "Smart key code saving".
|
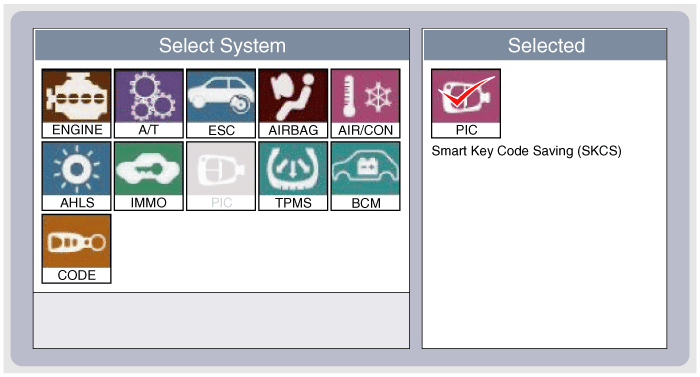
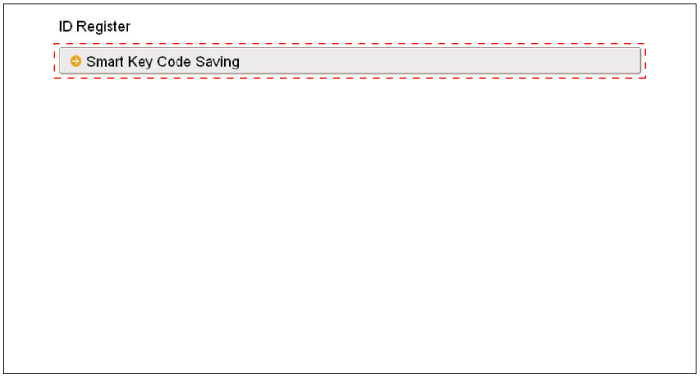
| 3. |
After selecting "Smart key teaching" menu, push "Enter" key, then the screen will be shown as below.
|
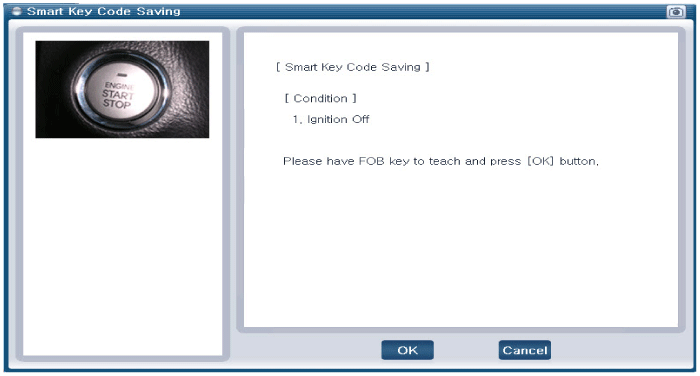
| 4. |
After having the teaching smart key, push "ENTER" key. |
| 5. |
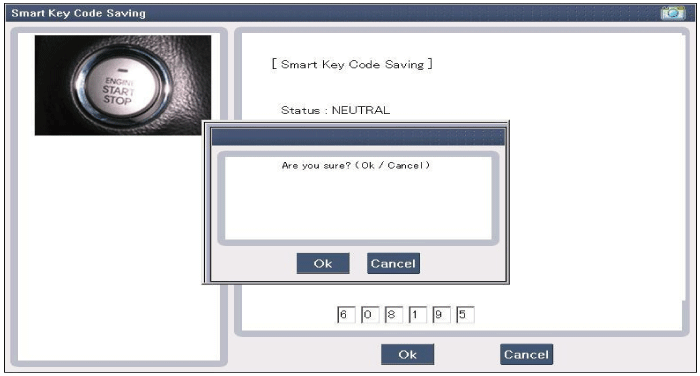
Input the "Pin code" for first key teaching.
|
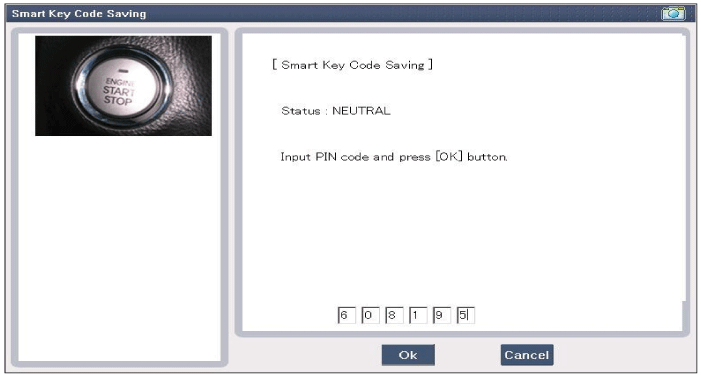
| 6. |
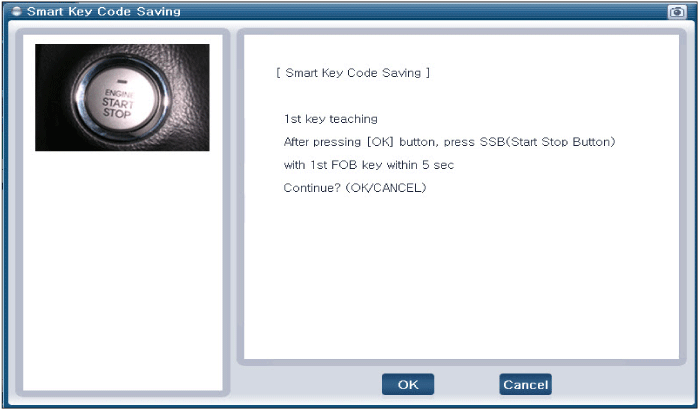
Press the SSB with smart key within 5 sec after pressing "OK".
|
| 7. |
Confirm the message "First key teaching completed".
|
| 8. |
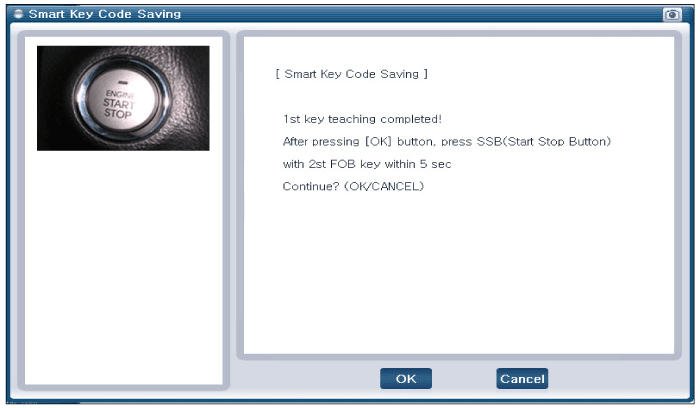
Press the SSB with smart key within 5 sec after pressing "OK".
|
| 9. |
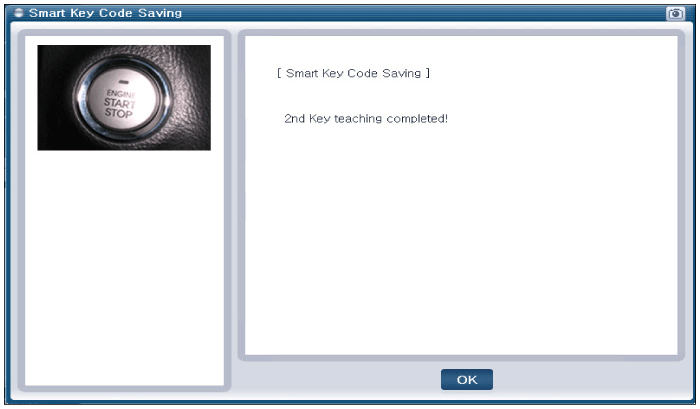
Confirm the message "Second key teaching completed".
|
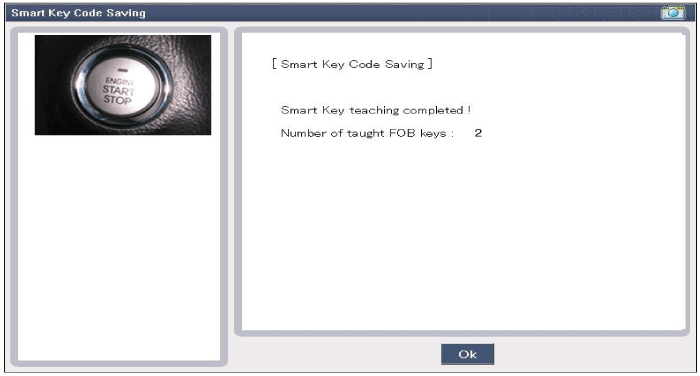
| 10. |
Then the screen will be shown as below when key teaching process is completed.
|
 Description and Operation
Description
Refer to the "Body Network System" for the abbreviation information.
The SMART KEY system is a system that allows the user to
access and operate a vehicle in ...
 Smart Key Unit Components and Components Location
Components
Connector Pin Information
No.Connector AConnector BConnector C1V_BAT loadC_CAN LowSSB illumination ground2-C_CAN High-3Power ground1-SSB LED OFF4IGN1-Interior antenna #2 power5IGN1 rela ...
See also:
Damper Clutch Control Solenoid Valve Repair procedures
Inspection
1.
Turn ignition switch OFF.
2.
Disconnect the E Module connector.
3.
Measure resistance between sensor signal terminal and sensor ground terminal.
4.
Check that the resi ...
Presure Switch Repair procedures
Inspection
1.
Turn ignition switch OFF.
2.
Disconnect the E Module connector.
3.
Measure resistance between sensor signal terminal and sensor ground terminal.
4.
Check that the res ...
AVN Antenna Repair procedures
Inspection
Glass Antenna Test
1.
Wrap aluminum foil (A) around the tip of the tester probe (B) as shown.
2.
Touch one tester probe to the glass antenna terminal (A) and
move the other teste ...
Categories
Hyundai Equus Manuals

© 2011-2026 Copyright www.heqmanual.com