
 Hyundai Equus: Front Strut Assembly Repair procedures
Second generation VI (2009–2026) / Hyundai Equus VI 2009-2026 Service Manual / Suspension System / Front Suspension System / Front Strut Assembly Repair procedures
Second generation VI (2009–2026) / Hyundai Equus VI 2009-2026 Service Manual / Suspension System / Front Suspension System / Front Strut Assembly Repair procedures
| Removal |
| 1. |
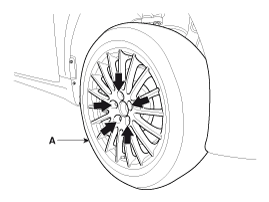
Remove the front wheel and tire (A) from front hub .
|

| 2. |
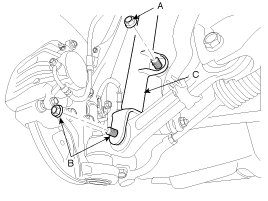
Disconnect the stabilizer link with the front strut assembly by loosening the nuts (A).
|
| 3. |
Disconnect the front strut assembly (C) with the front lower arm by loosening the bolt & nuts (B).
|
| 4. |
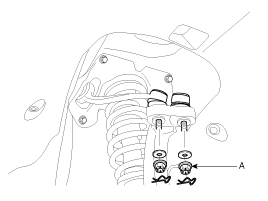
Remove the split pin and castle nuts (A).
|
| 5. |
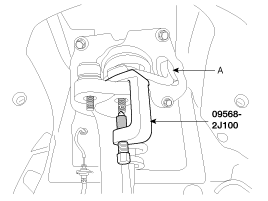
Disconnect the front upper arm (A) with the knuckle using a SST (09568-2J100).
|
| 6. |
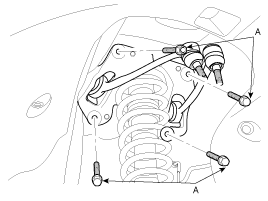
Disconnect the front strut assembly with the frame by loosening the mounting bolt (A).
|
| 7. |
Disconnect the bracket (B) with the front strut assembly (A) loosening the nuts.
|

| 8. |
Installation is the reverse of removal. |
| 9. |
Check the alignment.
(Refer to Tires/Wheels - "Alignment") |
| Disassembly |
| 1. |
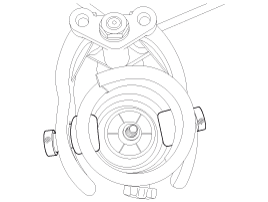
Compress the coil spring with a strut spring compressor. Do not compress the spring more than necessary. |
| 2. |
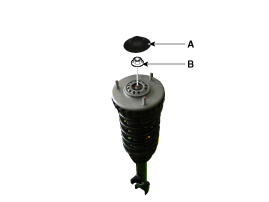
Disconnect the cover (A) remove the lock nut (B).
|
| 3. |
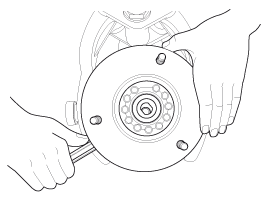
Gradually turn the bolt on the spring compressor to slowly
release the tension from the spring. Then, disconnect the components. |
| 4. |
Reassembly is the reverse of the disassembly.
|
| Inspection |
| 1. |
Check the components for damage or deformation. |
| 2. |
Compress and extend the piston rod and check that there is no abnormal resistance or unusual sound during operation. |
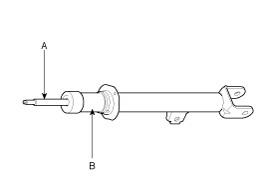
| 3. |
When disposing the shock absorber, fully extend the piston
rod (A) and then drill a hole on the B section to discharge gas from the
cylinder.
|
 Front Strut Assembly Components and Components Location
Components
1. Insulator cap2. Insulator assembly3. Spring upper pad4. Dust cover 5. Bump stopper6. Coil spring7. Spring lower pad8. Shock absorber
...
 Front Upper Arm Repair procedures
Removal
1.
Remove the front wheel and tire (A) from front hub .
Tightening torque:
88.3 ~ 107.9 N.m (9.0 ~ 11.0 kgf.m, 65.1 ~ 79.6 lb-ft)
•
Be careful not to dama ...
See also:
8LR Brake Control Solenoid Valve Repair procedures
Inspection
1.
Turn ignition switch OFF.
2.
Disconnect the E Module connector.
3.
Measure resistance between sensor signal terminal and sensor ground terminal.
4.
Check that the res ...
Schematic Diagrams
System Block Diagram
Component Parts And Function Outline
Component partFunctionVehicle-speed sensor, ESP/ABS Control ModuleConverts vehicle speed to pulse.ECMReceives signals from sensor and cont ...
How to use this manual
We want to help you get the greatest possible driving pleasure from your vehicle.
Your Owner’s Manual can assist you in many ways.We strongly recommend that you read
the entire manual. In order ...
Categories
Hyundai Equus Manuals

© 2011-2026 Copyright www.heqmanual.com