
 Hyundai Equus: Electric Parking Brake (EPB) Repair procedures
Second generation VI (2009–2026) / Hyundai Equus VI 2009-2026 Service Manual / Brake System / Parking Brake System / Electric Parking Brake (EPB) Repair procedures
Hyundai Equus: Electric Parking Brake (EPB) Repair procedures
Second generation VI (2009–2026) / Hyundai Equus VI 2009-2026 Service Manual / Brake System / Parking Brake System / Electric Parking Brake (EPB) Repair procedures
Second generation VI (2009–2026) / Hyundai Equus VI 2009-2026 Service Manual / Brake System / Parking Brake System / Electric Parking Brake (EPB) Repair procedures
| Removal |
| 1. |
Release the parking brake by pushing the EPB switch. |
| 2. |
Turn ignition switch off and disconnect the battery (-) cable from the battery. |
| 3. |
Remove the canister service cover in the trunk.
|
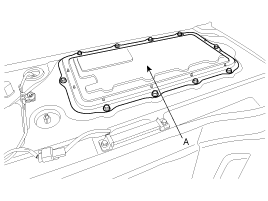
| 4. |
Remove the canister and the bracket.
(Refer to Emission Control System - “Canister�) |
| 5. |
Remove the canister bracket (A).
|
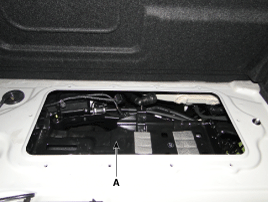
| 6. |
Disconnect the EPB connector (A).
|
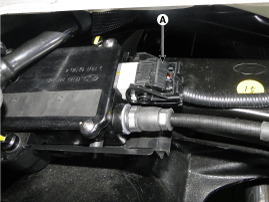
| 7. |
Remove the EPB bracket No. 2 after removing the bolt.
|
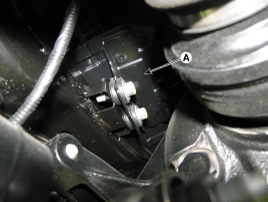
| 8. |
Remove the rear brake disc.
( Refer to Brake System - "Rear Disc Brake�) |
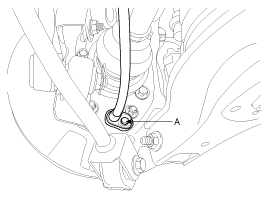
| 9. |
Remove the parking brake cable after removing the bolt (A).
|
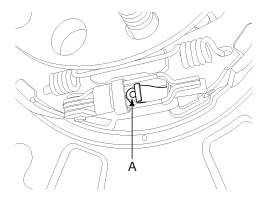
| 10. |
Remove the parking brake cable (A) from the DIH operating lever assembly. (Both left and right side)
|
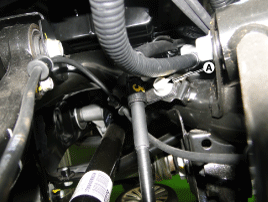
| 11. |
Remove the mounting bolt for parking brake cable.
|
| 12. |
Remove the EPB bracket No. 1 mounting bolt.
|
| 13. |
Remove the EPB and the bracket No. 2 from the sub flame. |
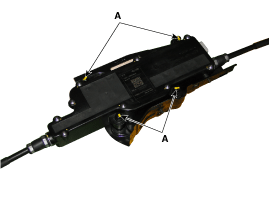
| 14. |
Remove the EPB from the bracket No. 2 after mounting nut (A).
|

| Installation |
| 1. |
Installation is reverse of removal. |
| 2. |
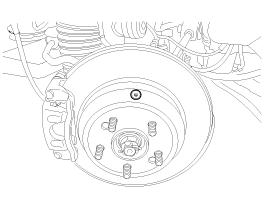
Adjust the rear brake shoe clearance.
|
| 3. |
Check that the brake operates normally by pushing the EPB switch more than 3 times after installing the EPB module.
|
 Electric Parking Brake (EPB) Components and Components Location
Components
1. EPB2. Bracket No.13. Bracket No.24. EPB Extension wiring harness5. Parking brake cable
...
 Electric Parking Brake (EPB) Schematic Diagrams
Circuit Dragram
...
See also:
Memory Power Seat Switch Components and Components Location
Components
...
Repair procedures
On-vehicle Inspection
Inspect ignition coil assembly and Perform spark test
1.
Check for DTCs.
•
If a DTC is present, perform troubleshooting in accordance with the ...
Canister Close Valve (CCV) Repair procedures
Inspection
1.
Turn the ignition switch OFF.
2.
Disconnect the CCV connector.
3.
Measure resistance between the CCV terminal 1 and 2.
4.
Check that the resistance is within the specific ...
Categories
Hyundai Equus Manuals

© 2011-2026 Copyright www.heqmanual.com