 Hyundai Equus: High mounted stop light
Second generation VI (2009–2024) / Hyundai Equus 2009-2024 Owners Manual / Maintenance / Light bulbs / High mounted stop light
Hyundai Equus: High mounted stop light
Second generation VI (2009–2024) / Hyundai Equus 2009-2024 Owners Manual / Maintenance / Light bulbs / High mounted stop light
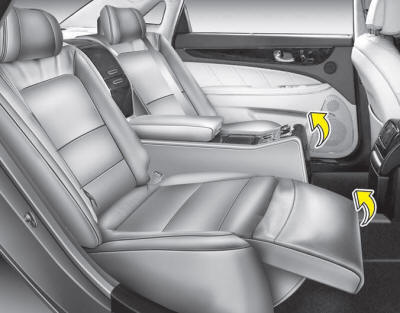
1. Remove the rear seat
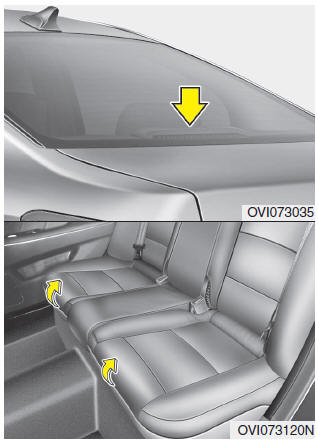
5 Seater
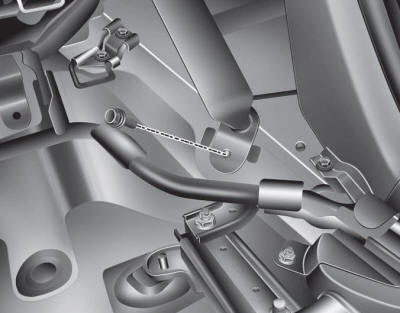
1.Disconnect the negative battery cable.
2.Remove the rear seat cushion.
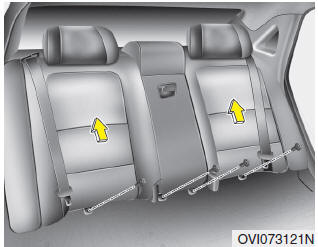
3.Loosen the mounting bolts, then remove the rear seat back.
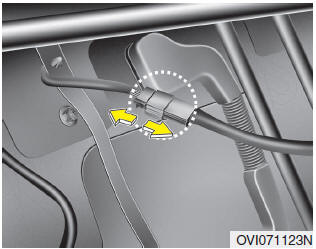
4.Disconnect the connector.
5.Push the hook, disconnect the main connector.
Tightening torque :
34.3~53.9 N.m
3.5~5.5 kgf.m,
25.3~39.8 lb-ft
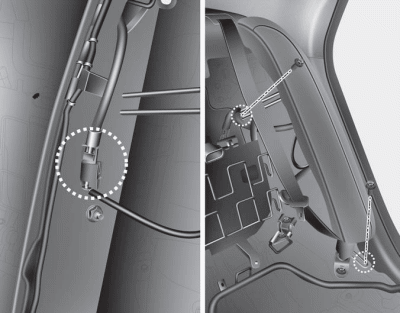
6.Loosen the mounting bolts, then disconnect the connector.
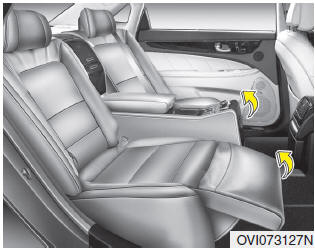
7.Remove the side seat.
4 Seater
1.Disconnect the negative battery cable.
2.Remove the rear seat cushion.
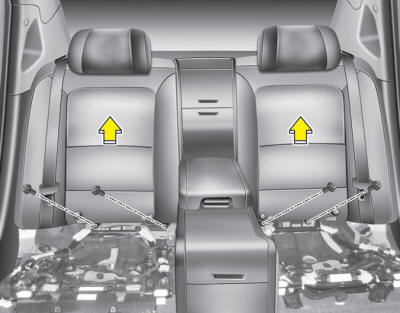
3.Loosen the mounting bolts, then remove the rear seat back.
Tightening torque :
34.3~53.9 N.m
3.5~5.5 kgf.m,
25.3~39.8 lb-ft
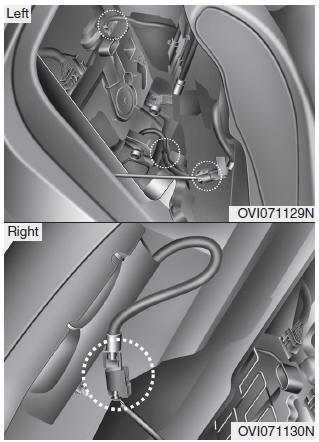
4.Disconnect the connectors and hose.
2. Remove the rear package tray trim
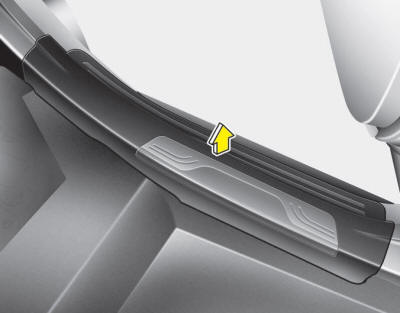
1.Remove the rear door scuff trim.
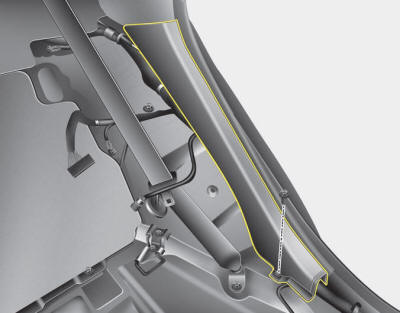
2.Loosen the mounting screw, then remove the rear wheel house trim.
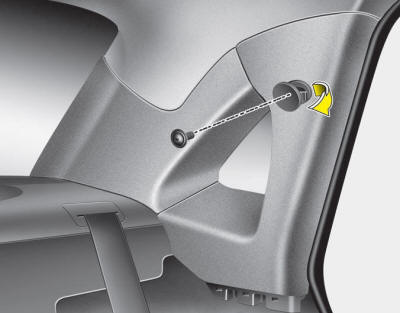
3.Remove the cap, then loosen the mounting screw.
4.Remove the rear pillar trim.
5.Push the hook, remove the rear seat belt cover.
6.Remove the rear seat belt lower anchor.
Tightening torque : 39.2~53.9 N.m
4.0~5.5 kgf.m
28.9~39.8 lb-ft
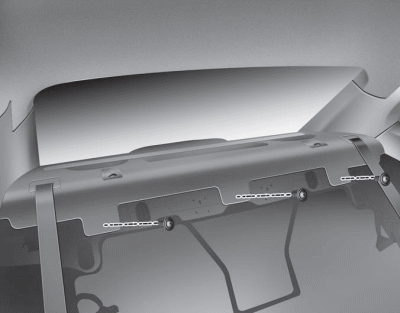
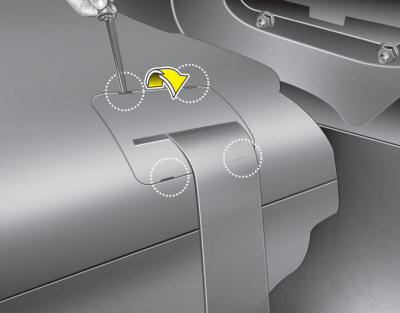
7.Loosen the mounting screws, then remove the package tray trim.
3. Replace the high mounted stop light

1.Remove the high mounted stop lamp after removing screws.
2.Install a new light.
4. Installation
Install in the reverse order of removal.
 Rear combination light bulb replacement
(1) Stop, tail light and side marker
(2) Rear turn signal light
(3) Back-up light
Rear back-up light
If the light is not operating, have the vehicle checked by an authorized EQUUS
dealer.
Tur ...
 License plate lamp replacement
1.Open the trunk.
2.Disconnect the negative battery cable.
3.Using a screwdriver, remove the trunk lid latch cover(1).
4.Using a screwdriver, remove the trunk lid switch(2), and disconnect ...
See also:
Rain Sensor Schematic Diagrams
Circuit Diagram
...
Rain Sensor Description and Operation
Description
Integrated Rain Sensor
Integrated rain sensor (A) controls three systems: front wiper, auto-light, and central air conditioner.
1.
Wiper Control System
When "AUTO" switch signal i ...
Rheostat Repair procedures
Inspection
1.
Disconnect the negative (-) battery terminal.
2.
Remove the lower crash panel and then disconnect the rheostat connector.
3.
Check for intensity of new rheostat switch. If th ...
Categories
Hyundai Equus Manuals
